Do you have a child who is struggling to learn the difference between “b” and “d”? Or perhaps they struggle with reading, handwriting, or spelling. Today, I have a cheap and easy way to make your homeschool more multi-sensory!
Children learn best when they can feel, touch, taste, and experience learning on a multi-sensory level. That is the underlying theme of all my programs. But today, I am giving you a tip you can use with any program. You can make these letters in just a few minutes and with supplies you probably have on hand. 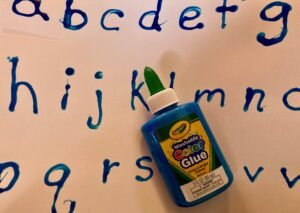
There are lots of expensive multi-sensory letter cards available for sale. Many are made with sandpaper letters on smooth cards. And while you can make those yourself, my sensory kids don’t like rough textures, they prefer smooth ones. So, I came up with a way to make raised letters that are smooth.
How To Make Them
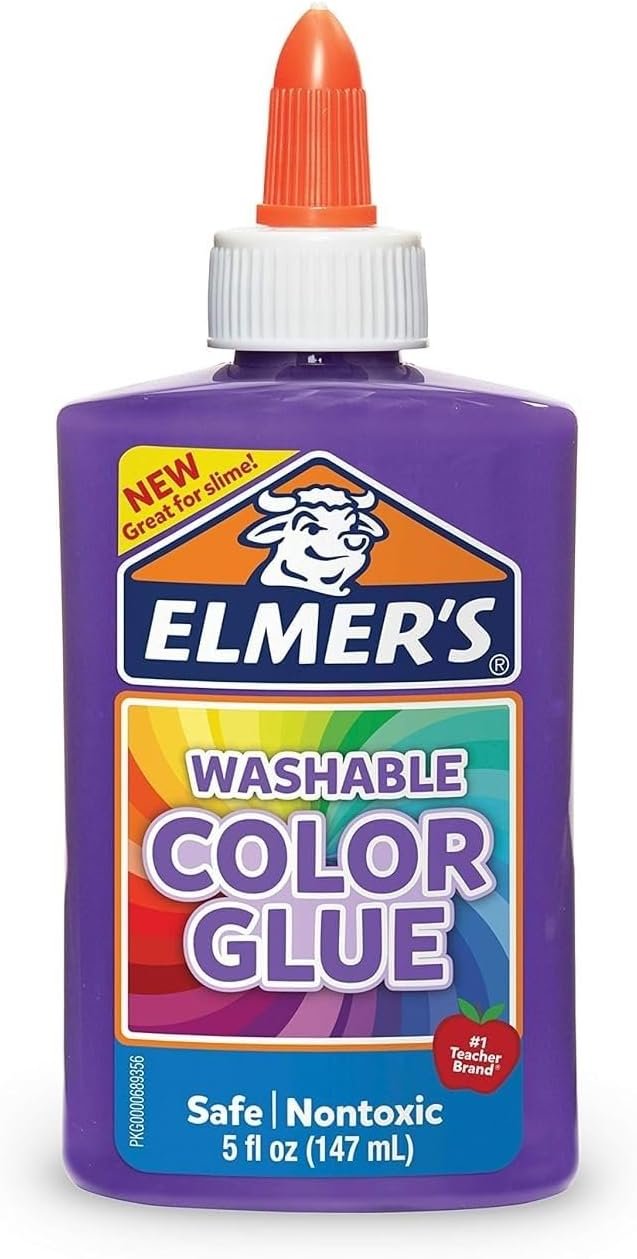
Start by getting some heavy-weight paper, card stock, or index cards. Next, write the lowercase alphabet with colored glue on the heavy-weight paper. I found a bottle of Elmer’s Washable Colored Glue while shopping for school supplies, so it has been sitting on my shelf waiting for this brilliant idea. However, if you don’t have any, you can also just add some paint to your school glue and it will work just fine. Be sure to make your lines nice and thick, so when it dries it will have a raised texture.
If your child enjoys more rough textures, you can experiment with adding salt or sand to your glue letters to give them even more texture. I haven’t done this, so if you try, let me know how it works!
Let’s Play 
Once the letters are dry, you can cut them apart to make cards for each letter that can be used in a wide range of games and activities. Older kids can use them to practice spelling words, tracing each letter with their fingers. Younger kids can feel the letter and then work on writing it. They can also use them to build words or play matching games. Give your child a handful of objects and the letters those objects start with. Have them match the letter sound they hear at the beginning of the word to the object. Matching b for “ball” and h for “hat” is a great way to develop phonological awareness.
Tricky Letters
As you can see in the picture, I also made a card with both b and d on it. This is a good way to have your child practice tracing them to remember which is which. The two letters are “facing” each other with their round bellies. If there are other letters they confuse, you can put those together too.
If your child is still working on learning their letters, check out our Foundations and Fundamentals program which has tons of multi-sensory activities to introduce children to letters, teaches phonics, and so much more!
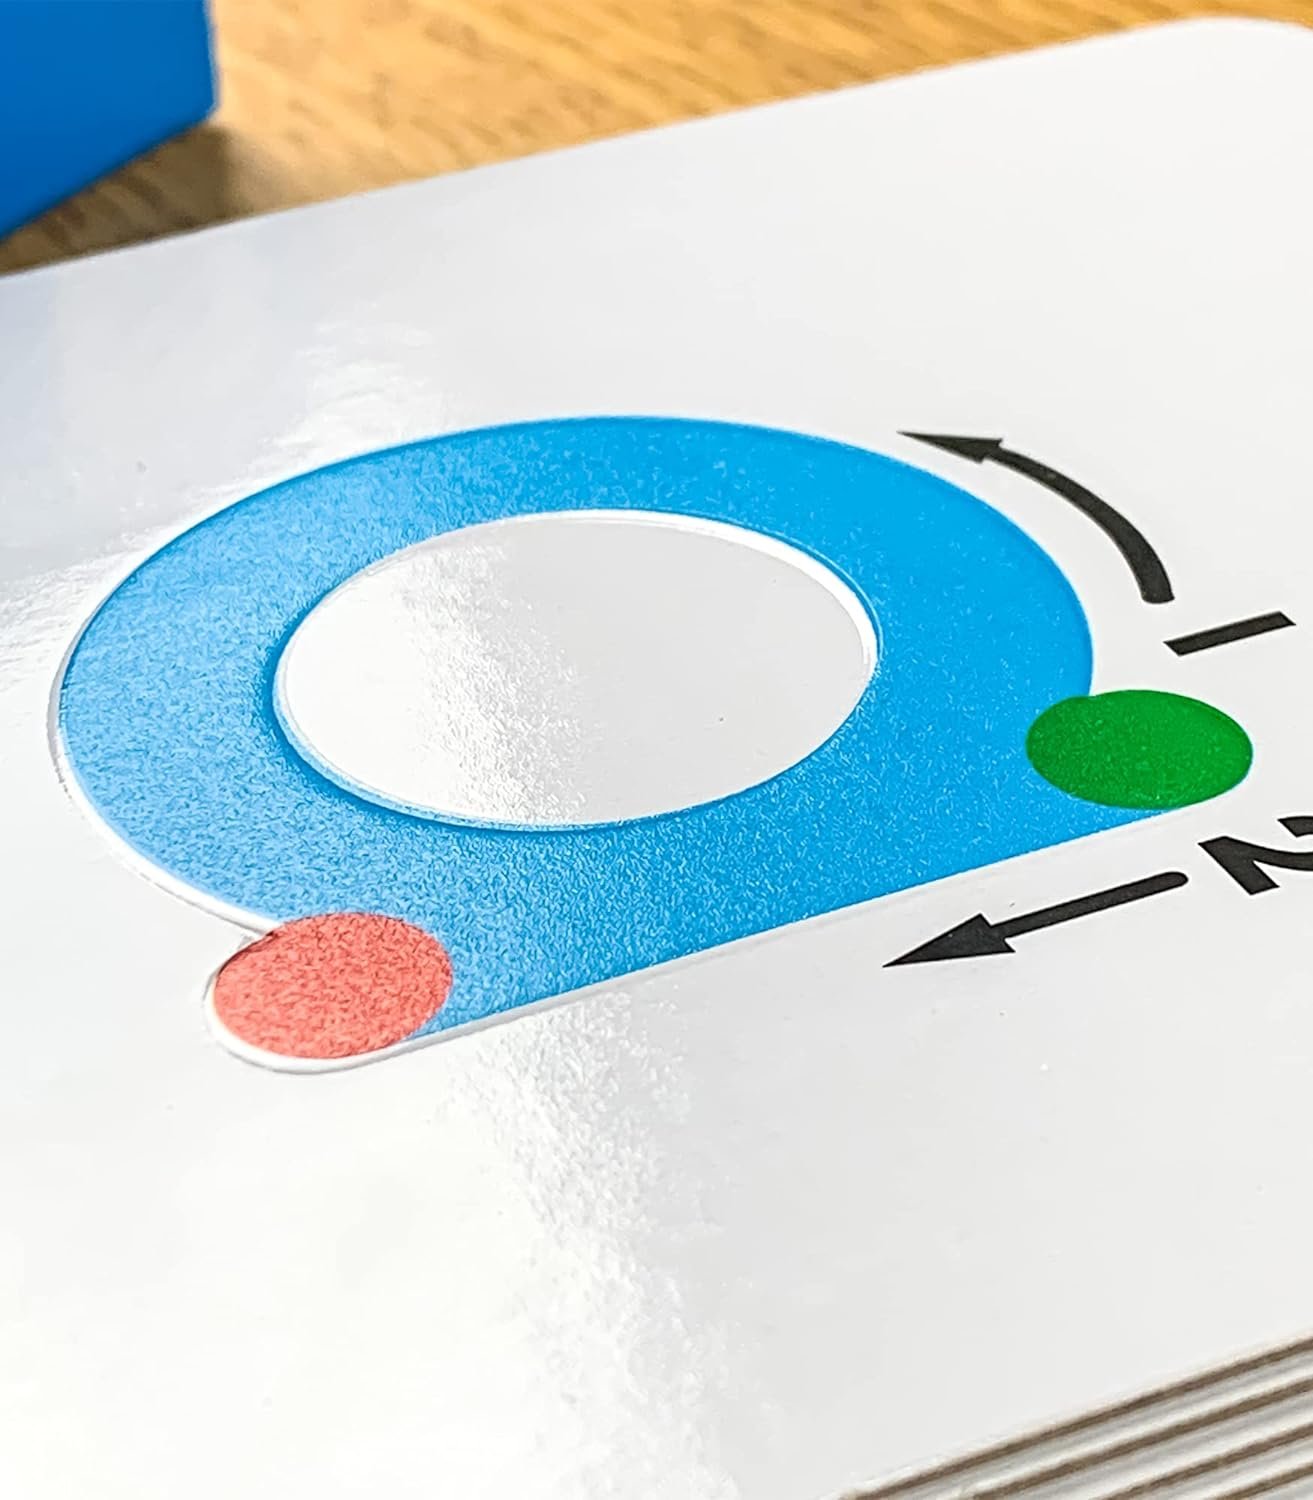
P.S. Here are the links to the different items I’ve talked about today.
** Our business does receive a small percentage of sales made through links on this page to Amazon as part of the Amazon Affiliates program and through links to Bookshop as part of the Bookshop Affiliates program. If you chose to purchase through one of these links, please know that we appreciate it. Thank you!





0 Comments